Lazy Toad Web Pages
Toad Photo Galleries Trails
- Barnwell Mountain
- Black Gap
- Blackrock Desert
- EDRA: Hwy 101
- Elephant Hill
- Engineer Pass
- Fins N Things
- The Maze
- Metal Masher
- Poison Spider/
Golden Spike/
Gold Bar Rim - Rimrocker
- The Rubicon
- Schnebly Hill
- Top of the World
- Toroweap
- White Rim
Other
Team Toad: Gear Reviews
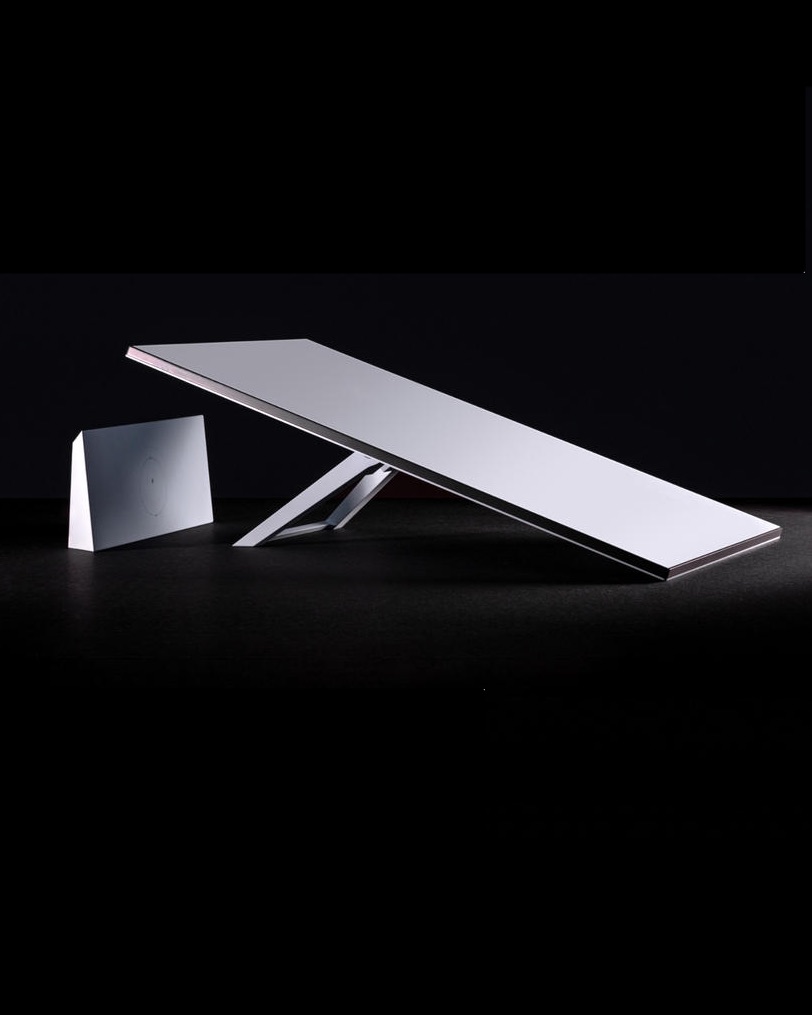
StarLink Gen 3 (Standard)
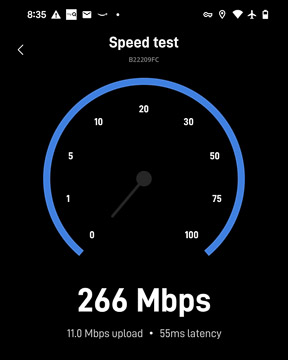
This is actually more of a build report than a review.I have found that my StarLink works well even when I'm driving, as long as there aren't any trees or other obstructions overhead. So:
- My cell phone mapping app works and never loses the map
- I can make WiFi calls from my cell phone even in areas with no coverage
- I can receive incoming WiFi calls
- My laptop and other devices can connect to the router for over 100 feet from the Jeep
- Most important, I can keep my Wordle streak intact
Early testing
I'd previously taken a Gen 2 Starlink to Utah for the 2023 annular eclipse, and that allowed me to upload my photos from the field even without cell phone coverage.In April 2024 I ordered a second StarLink to mount to the roof of the EcoToad. In the meantime StarLink had upgraded to a new non-articulating dishy that was even easier to mount flat on the vehicle roof.
My plan was as follows:
- Verify that the dish would work well enough completely flat
- Verify that a LEXAN cover would not interfere with the signal
- Replace the AC power brick with a DC source using the Jeep's house battery
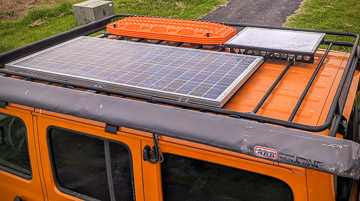
- Build a frame to house the dishy on the Jeep's roof rack.
Orientation
Power
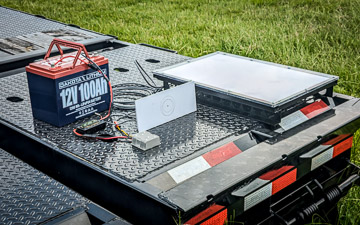
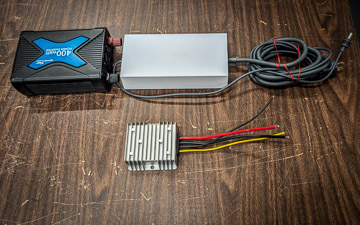
One thing I found in Utah last year was that StarLink's don't work well with sketchy AC power... the way to factory reset a StarLink is to turn the power off and on six times rapidly. This happened when my house battery in my trailer ran down... it kept turning on and off, and factory reset my unit in the field. The AC outlet in my Jeep couldn't provide enough steady power to bring it back.The 100 AHr house battery in my Jeep has enough power, but converting DC to AC and then back to DC is an added complication and inefficiency.
|
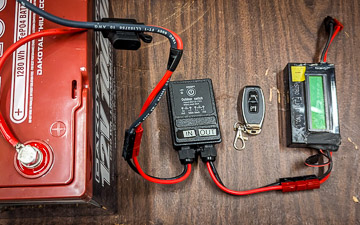
My solution was a 12-56 volt DC-DC converter from Amazon. This one is rated for 3 amps or 168 watts. The StarLink draws as much as 125 watts during startup, so this unit is just big enough. During normal operation the dishy and router draw about 60 watts. |
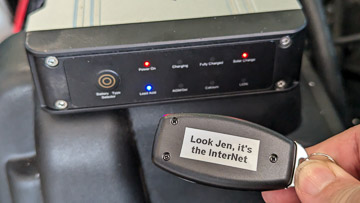 |
I decided to turn the power on and off with a key fob-controlled relay. That way if I'm in my trailer (the Toad Pod), I can still turn the internet on and off without going outside. Or I can turn it on and off from the front seat of the Jeep. |
Roof Mount
|
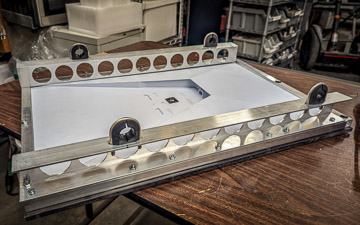
I made a rectangular frame of aluminum C-channel, held together with machine screws.
It attaches to the roof rack tubes with
vibration-dampening U-bolts,
another part from McMaster-Carr.
I spry-painted the aluminum black to match the roof rack and trim color on my Jeep. |
|
|
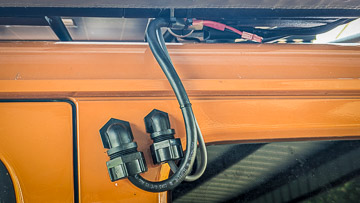
The big problem is always getting the cables from outside the vehicle to the inside. My solution was to use a 90-degree cord grip from McMaster. I cut one end of the ethernet cable off, ran it through the cord grip, then added a grounded RJ45 connector to the inside end. |
Note that the Starlink ethernet cable follows the RJ45-568B standard. If you have an ethernet crimper, it's easier to just put a new connector on instead of trying to splice all the wires, and you'll get better speeds that way.
I used s step-bit to drill a large hole in the hard top, and installed the cord grip. It is waterproof and gives a nice clean appearance. The larger cord grip is for routing DC power from the solar panel inside the Jeep.
There are many ways to route cables into your vehicle; if you aren't comfortable cutting and terminating ethernet cables, you can use cable clams to provide a pass-through.
Summary
Even though I have the key fob to turn my StarLink on and off, I find that I rarely turn it off on a trip... my house battery and solar panel provide a surplus of electricity.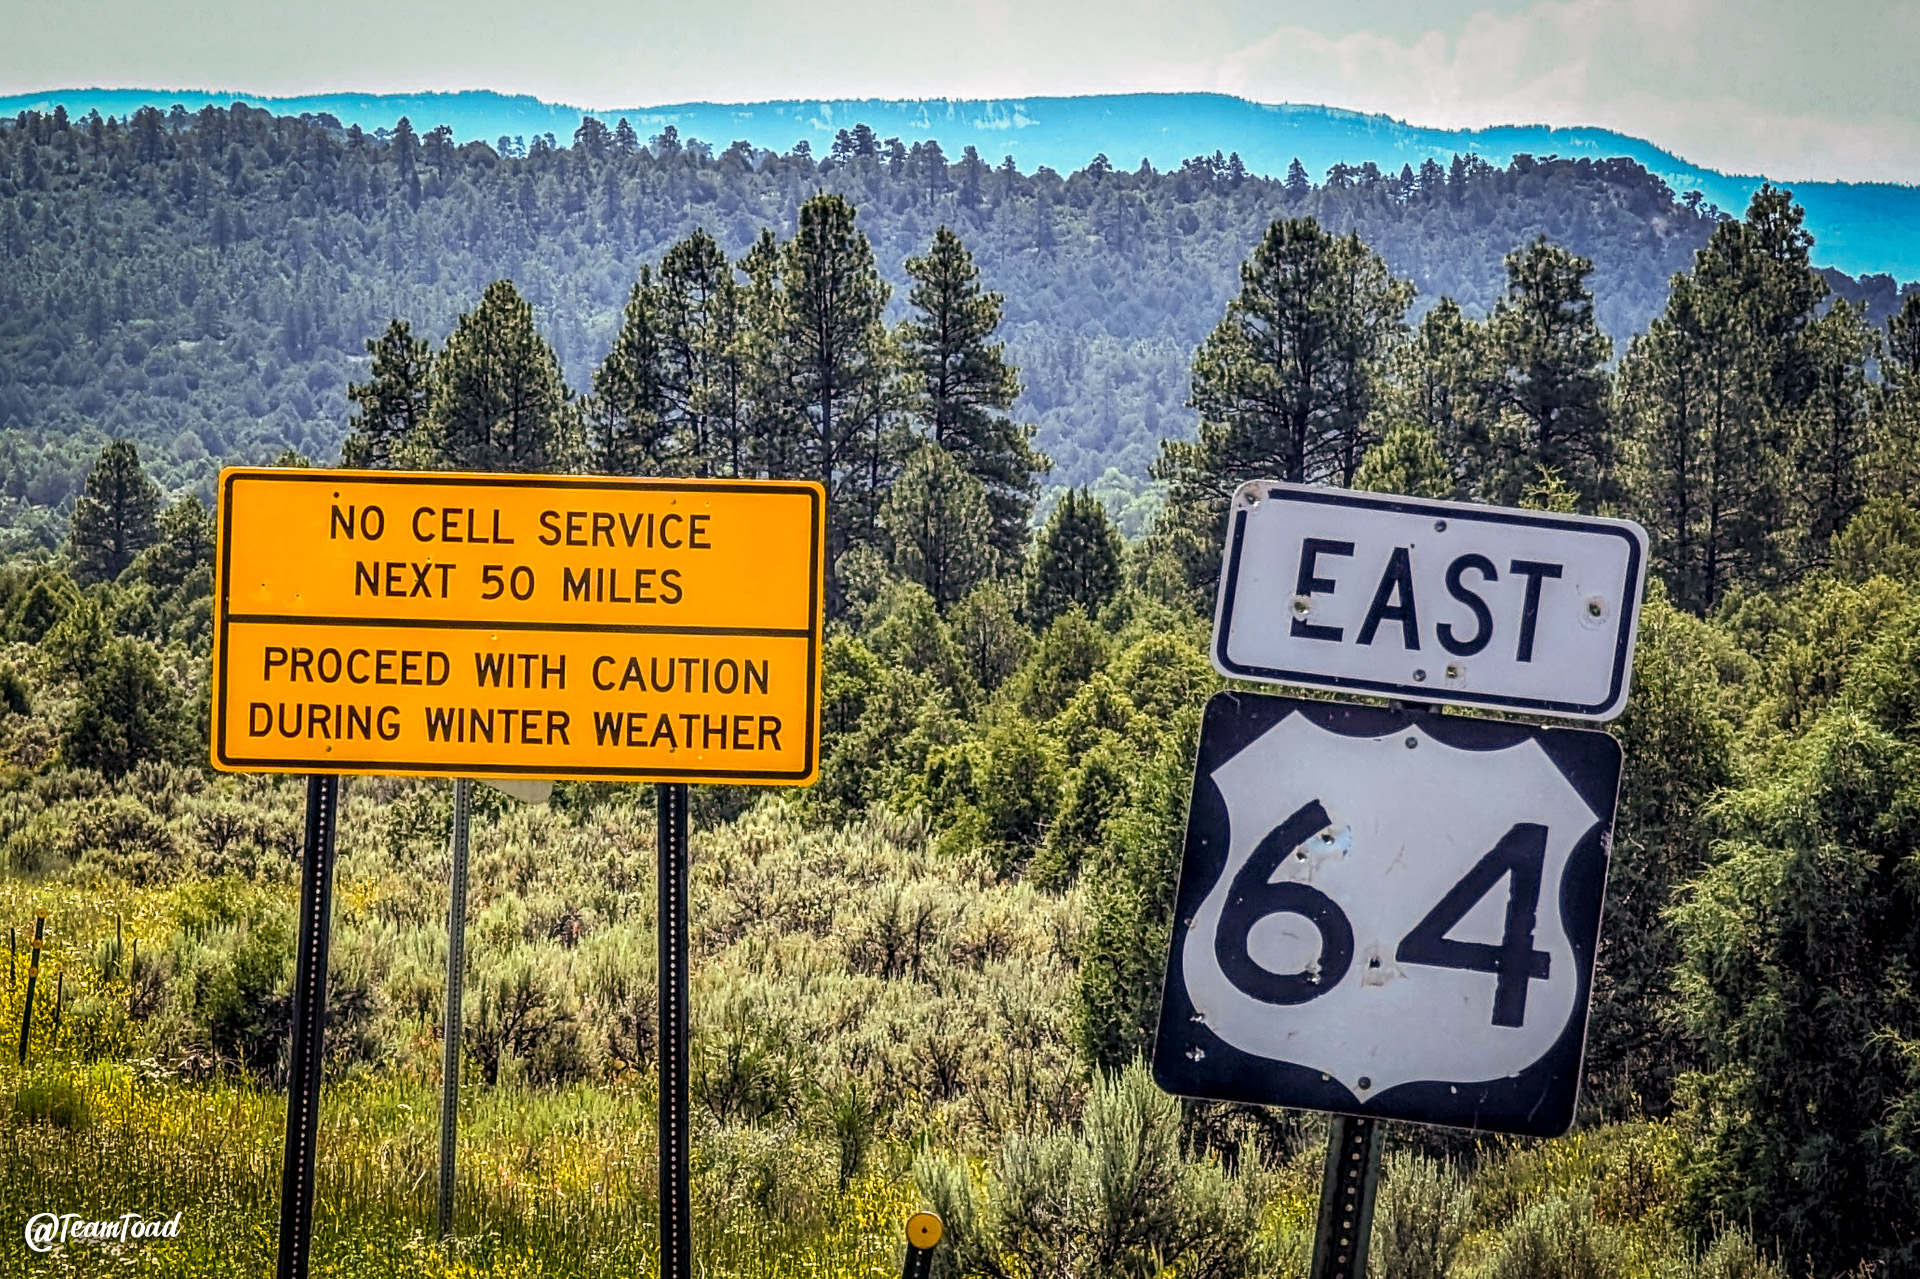
I really enjoy the peace of mind StarLink gives me when I see signs like this one on Highway 64 in New Mexico. I had a solid internet connection the whole way.
